How to Connect Shark Robot to Wi-Fi (Android and iOS)
Cleaners Talk is reader-supported. This post contains affiliate links, we may earn a commission at no additional costs to you. As an Amazon Associate we earn from qualifying purchases.
Connecting your Shark robot to a Wi-Fi network unlocks a multitude of benefits. Please download the SharkClean app on Android or iOS to stay up to date with every improvement.
With the Shark robot connected to the Wi-Fi and the SharkClean, you will be able to:
- Control your Shark robot from home or away. You can control your Shark robot to clean, pause, or return to the dock from the control screen.
- Adjust the cleaning power. Depending on the type of surface you wish to clean, you can adjust the cleaning power of your Shark robot for an effective clean.
- Create custom cleaning schedules for your Shark robot. You can set cleaning schedules for each day of the week, then let the robot do all the work.
- View the Shark robot’s past 30 days of activity in the history page. Select a day to see a more detailed cleaning report, along with tips for getting the most out of your robot.
How to Connect Shark Robot to Wi-Fi
Setting up your Shark robot is very easy. This works for all Shark robot models, including the Shark ION, Shark IQ, Shark AI, and Shark EZ. First, ensure your robot is set up on its dock and powered on. Also, make sure your phone is connected to Wi-Fi. Here is the step-by-step guide on how to connect a Shark robot to Wi-Fi.
There are different steps for Android and iOS.
Connecting Shark Robot to Wi-Fi on Android
- Launch the SharkClean app on your device.
- Create your account by entering your email address and choosing a password.
- With the robot powered on, press and hold the LEFT and RIGHT buttons simultaneously until the Wi-Fi indicator light starts blinking.
- Select your home Wi-Fi network and enter the Wi-Fi password.
- When pairing is complete, the Success screen will appear.
- The Wi-Fi icon on the robot will turn a steady blue.

Connecting Shark Robot to Wi-Fi on iOS
- Launch the SharkClean app on your device.
- Create your account by entering your email address and choosing a password.
- With the robot powered on, press and hold the LEFT and RIGHT buttons simultaneously until the Wi-Fi indicator light starts blinking.
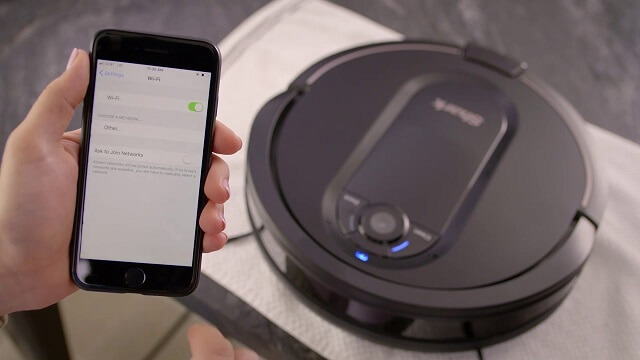
- Exit the app and open Wi-Fi settings.
- Select your robot (Shark_RVXXX) from the drop-down menu.
- Exit settings and return to the SharkClean app.
- When pairing is complete, the Success screen will appear.
- The Wi-Fi icon on the robot will turn a steady blue.
When a successful connection is achieved, you will be prompted to name and register your Shark robot. You can automatically enter your Shark robot’s model and serial numbers by scanning the QR code on the bottom of your robot. Congratulations, you are now ready to control your Shark robot from your phone.
You can also choose to enable the voice control feature using Amazon Alexa or Google Home. If you want to enable it, you can learn how to connect your Shark robot to Amazon Alexa and Google Home right here.
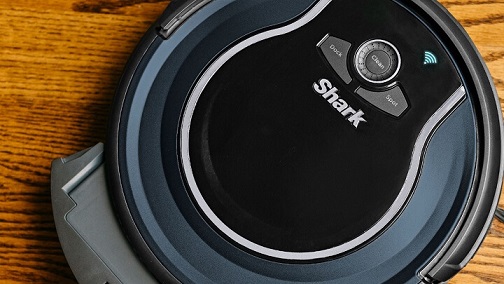
Depending on your Shark robot model, the LEFT and RIGHT buttons may represent different things. Here is a quick reference to the buttons on top of a Shark robot:
- On a Shark ION robot, the LEFT and RIGHT buttons represent DOCK and SPOT.
- On a Shark IQ robot, the LEFT and RIGHT buttons represent CLEAN and DOCK.
- On a Shark AI robot, the LEFT and RIGHT buttons represent CLEAN and DOCK.
- On a Shark EZ robot, the LEFT and RIGHT buttons represent CLEAN and DOCK.
If you have done the exact steps above, but your Shark robot is having trouble connecting to Wi-Fi, you can troubleshoot it. We have made a simple walkthrough for Shark robots not connecting to Wi-Fi right here.
If you need any further help, you can also choose to contact Shark Customer Service. They would be more than happy to assist you with any problem or question you may have.
Other helpful Shark articles:
