How to Install Shop-Vac Filter Bag in 3 Easy Steps
Cleaners Talk is reader-supported. This post contains affiliate links, we may earn a commission at no additional costs to you. As an Amazon Associate we earn from qualifying purchases.
A Shop-Vac filter bag works wonders because it makes a Shop-Vac stronger and prevents it from spewing dust all over the place. If you have your filter bag ready, here’s how to install a Shop-Vac filter bag:
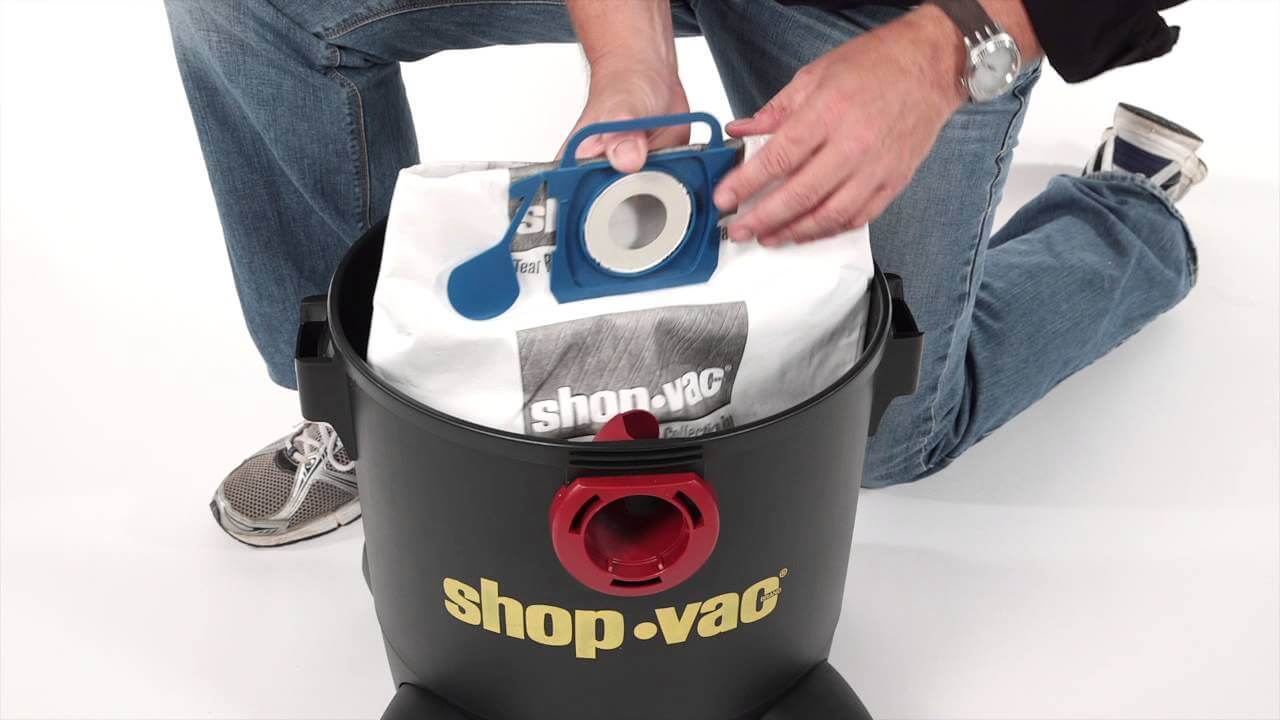
Unplug your Shop-Vac and open the lid. Line up the filter bag’s opening with the Shop-Vac’s inlet port. Push the filter bag’s collar all the way in beyond the 2 ribs of the inlet port to prevent the filter bag from detaching. Place the lid back on the Shop-Vac and you’re good to go.
Installing a Shop-Vac filter bag is super easy and very straightforward. However, if you want to be sure that you do it correctly, there is a video explanation below and a step-by-step instruction manual.
How to Install a Shop-Vac Filter Bag
Before you install a Shop-Vac filter bag, keep in mind that you can only vacuum dry dust, like saw dust or fine particles, when using the filter bag. The filter bag is not designed for liquid.
Although a Shop-Vac is essentially a wet/dry vacuum, installing the filter bag will eliminate your Shop-Vac’s ability to pick up water. With the caveat out of the way, here is how to install a Shop-Vac filter bag:
1. Unplug the Shop-Vac and open the lid
First, for safety precautions, please make sure to turn off your Shop-Vac and properly unplug the machine from the electrical outlet. Remove the lid from the Shop-Vac by unsecuring the safety latches and lifting the lid from the unit. Now you have access to the dust container of your Shop-Vac.
2. Install the Shop-Vac filter bag into the inlet port
Remove the plastic wrap from the Shop-Vac filter bag. Line up the opening of the Shop-Vac filter bag with your Shop-Vac’s inlet port (where the hose attaches). Make sure to push the carpet collar so the bag goes all the way onto the hole to prevent dust from escaping the bag while you vacuum.
Generally, a Shop-Vac’s inlet port has two ribs. Those ribs are designed to keep a filter bag from detaching from the inlet port. Please make sure the collar goes beyond the two ribs to prevent the bag from detaching.
3. Replace the Shop-Vac lid carefully
Finally, replace the lid back into the Shop-Vac. Don’t press the filter bag with the Shop-Vac’s filter. Make sure the filter bag is positioned around the Shop-Vac’s filter, which is why the filter bag is shaped like a big “U”.
Once the filter and the lid is in place, secure the latches and you’re good to go. Now your Shop-Vac’s filter will last a long time because it won’t clog. Most of the debris will be filtered by the filter bag.
Bottom Line
And there you have it, the simple guide on how to install a Shop-Vac filter bag. As you can see, installing a filter bag into your Shop-Vac is very easy yet it increases the performance of your beloved machine.
Related articles:
