How to Clean a Shark Vacuum and Its Filters: Complete Tutorial
Cleaners Talk is reader-supported. This post contains affiliate links, we may earn a commission at no additional costs to you. As an Amazon Associate we earn from qualifying purchases.
Shark vacuum cleaners are a thing of beauty. And while the manufacturer advertises Sharks never lose suction, it is based on the condition that the foam filters must be cleaned at least once every three months. Additionally, Shark vacuum owners must also clean the canister and rotating brush regularly.
How to clean Shark vacuum filters? To clean Shark vacuum filters, remove both the primary filter and the HEPA filter from the unit. Rinse both filters with cold water only (no soap) and air dry for at least 24 hours. Let both filters dry before reattaching them into the Shark vacuum cleaner unit.
If your Shark vacuum is losing suction, it may be time to clean it. It’s right there in the owner's manual, which most don’t read until there is a problem. In this post, we show you the complete tutorial on how to clean a Shark vacuum and its filters. By the end of this post, your Shark vacuum should be good as new.
How Often Should You Clean a Shark Vacuum?

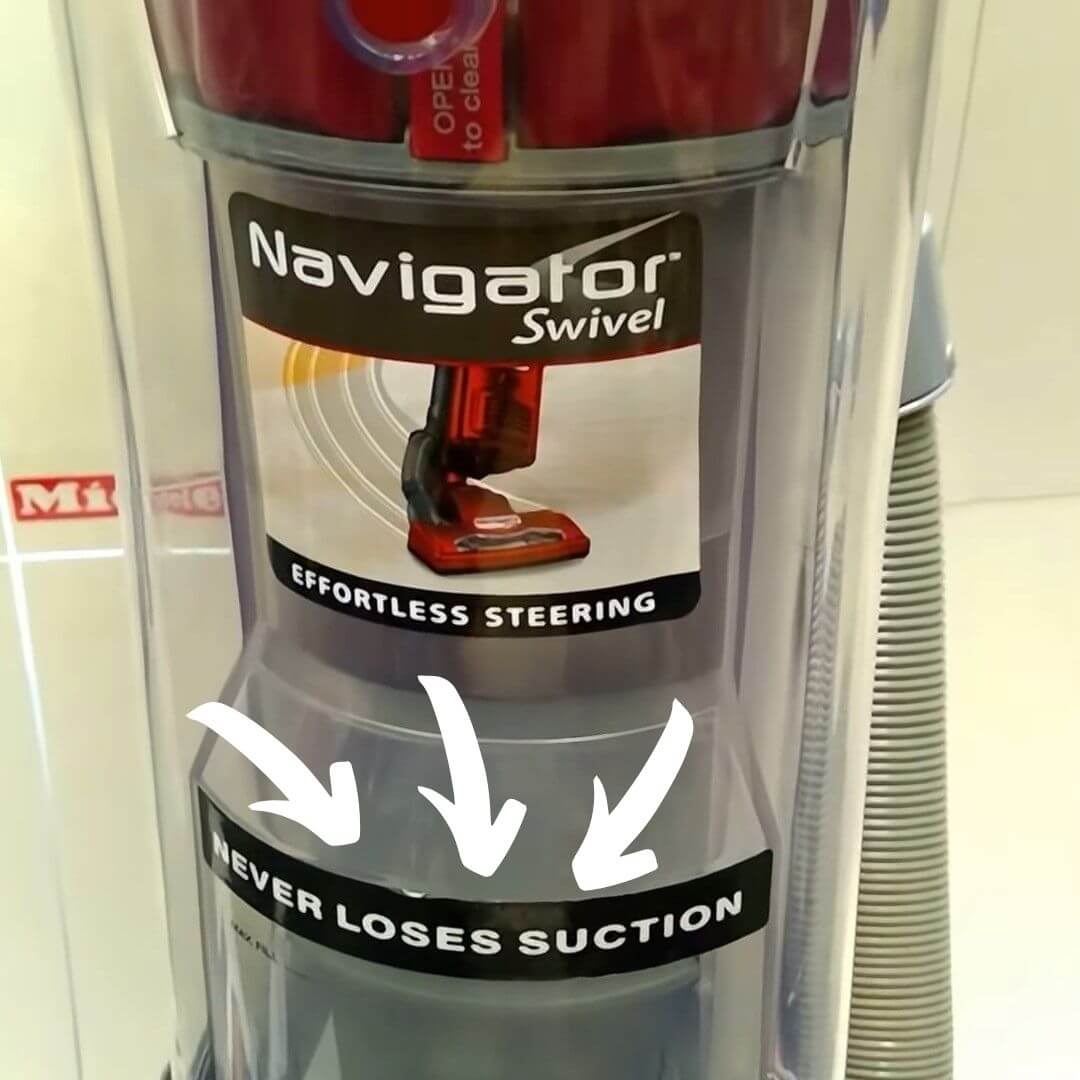
The front of a Shark vacuum states: NEVER LOSES SUCTION

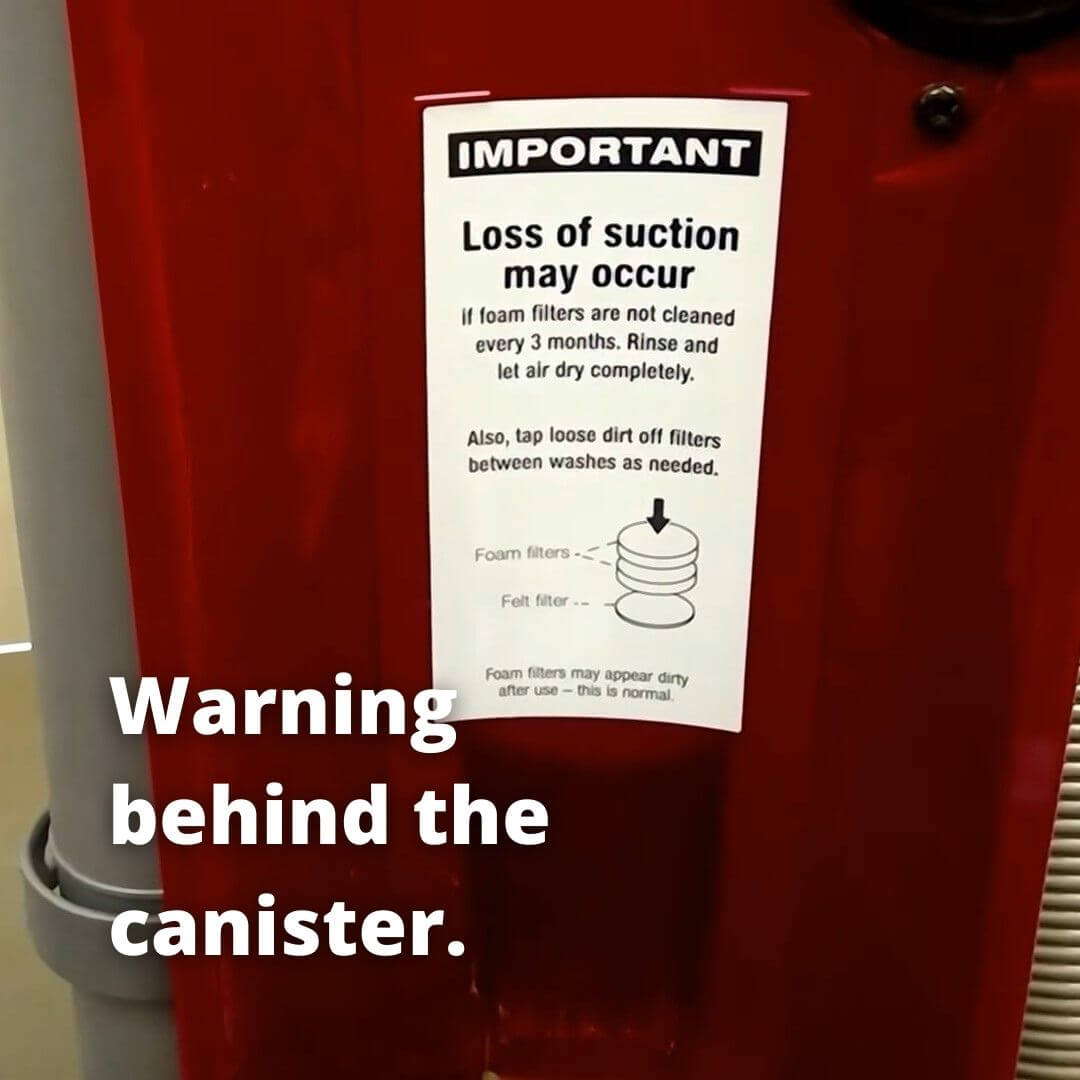
However, it comes with a warning in the back.
Generally, you need to clean a Shark vacuum cleaner four times in a year. It can be more or less, depending on how often you use it and how heavy the cleaning load is. However, there are some telltale signs that your Shark vacuum cleaner is in desperate need of cleaning, which include:
- Reduced suction power
- Bad smell from the vacuum
- Screeching or gasping sounds
Shark’s claim to fame is that their vacuums never lose suction, so if yours is, you might want to inspect how dirty your machine is and clean it accordingly. Two of the most common culprits that cause loss of suction are the dirty filters (primary and HEPA filters), and the clogged rotating brush roller.
Can You Wash Shark Vacuum Filters?
Many Shark vacuum owners ask: can you wash Shark vacuum filters? Yes, you can wash Shark vacuum filters. In fact, according to the manufacturer, the primary filter should be washed once every month, while the HEPA filter should be washed once every year. You should rinse them with cold water only.
How to Clean a Shark Vacuum Cleaner
There are many Shark models available, and most will have slightly different components from each other. If you are a Shark vacuum owner, you can read the model-specific manual to locate the parts and learn how to take care of them. That said, the cleaning process is the same and will work for most Shark models.
Remember, there are three main parts of cleaning your Shark vacuum. This includes the canister, filters, and the rotating brush. If you want the quick and dirty on how to clean a Shark vacuum cleaner, watch the short video below. If you want to read the step-by-step tutorial, continue reading the post.
1. Unplug the Shark Vacuum
Before performing any maintenance, be sure to unplug the vacuum. Never clean a vacuum when it is plugged. Ideally, you should place an old newspaper or cloth underneath the vacuum to avoid creating a mess. If your Shark vacuum is particularly dirty, you might want to consider doing the cleaning process outdoors.
2. Empty and Clean the Canister
Next, remove the dust bag or canister from the unit and empty the contents. It’s important to empty the canister regularly, or before it reaches maximum capacity. To clean the canister, wash it with water and soap. The canister has no electrical connections so submerging it in water is not a problem.
Additionally, you can use a toothbrush to clean the crevices of the canister. Once washed, you can wipe it with a microfiber cloth and let it dry. Be sure the canister is completely dry before reassembly, which may take up to 24 hours. Once the canister is removed from the unit, you will have access to the filters.
3. Clean the Filters
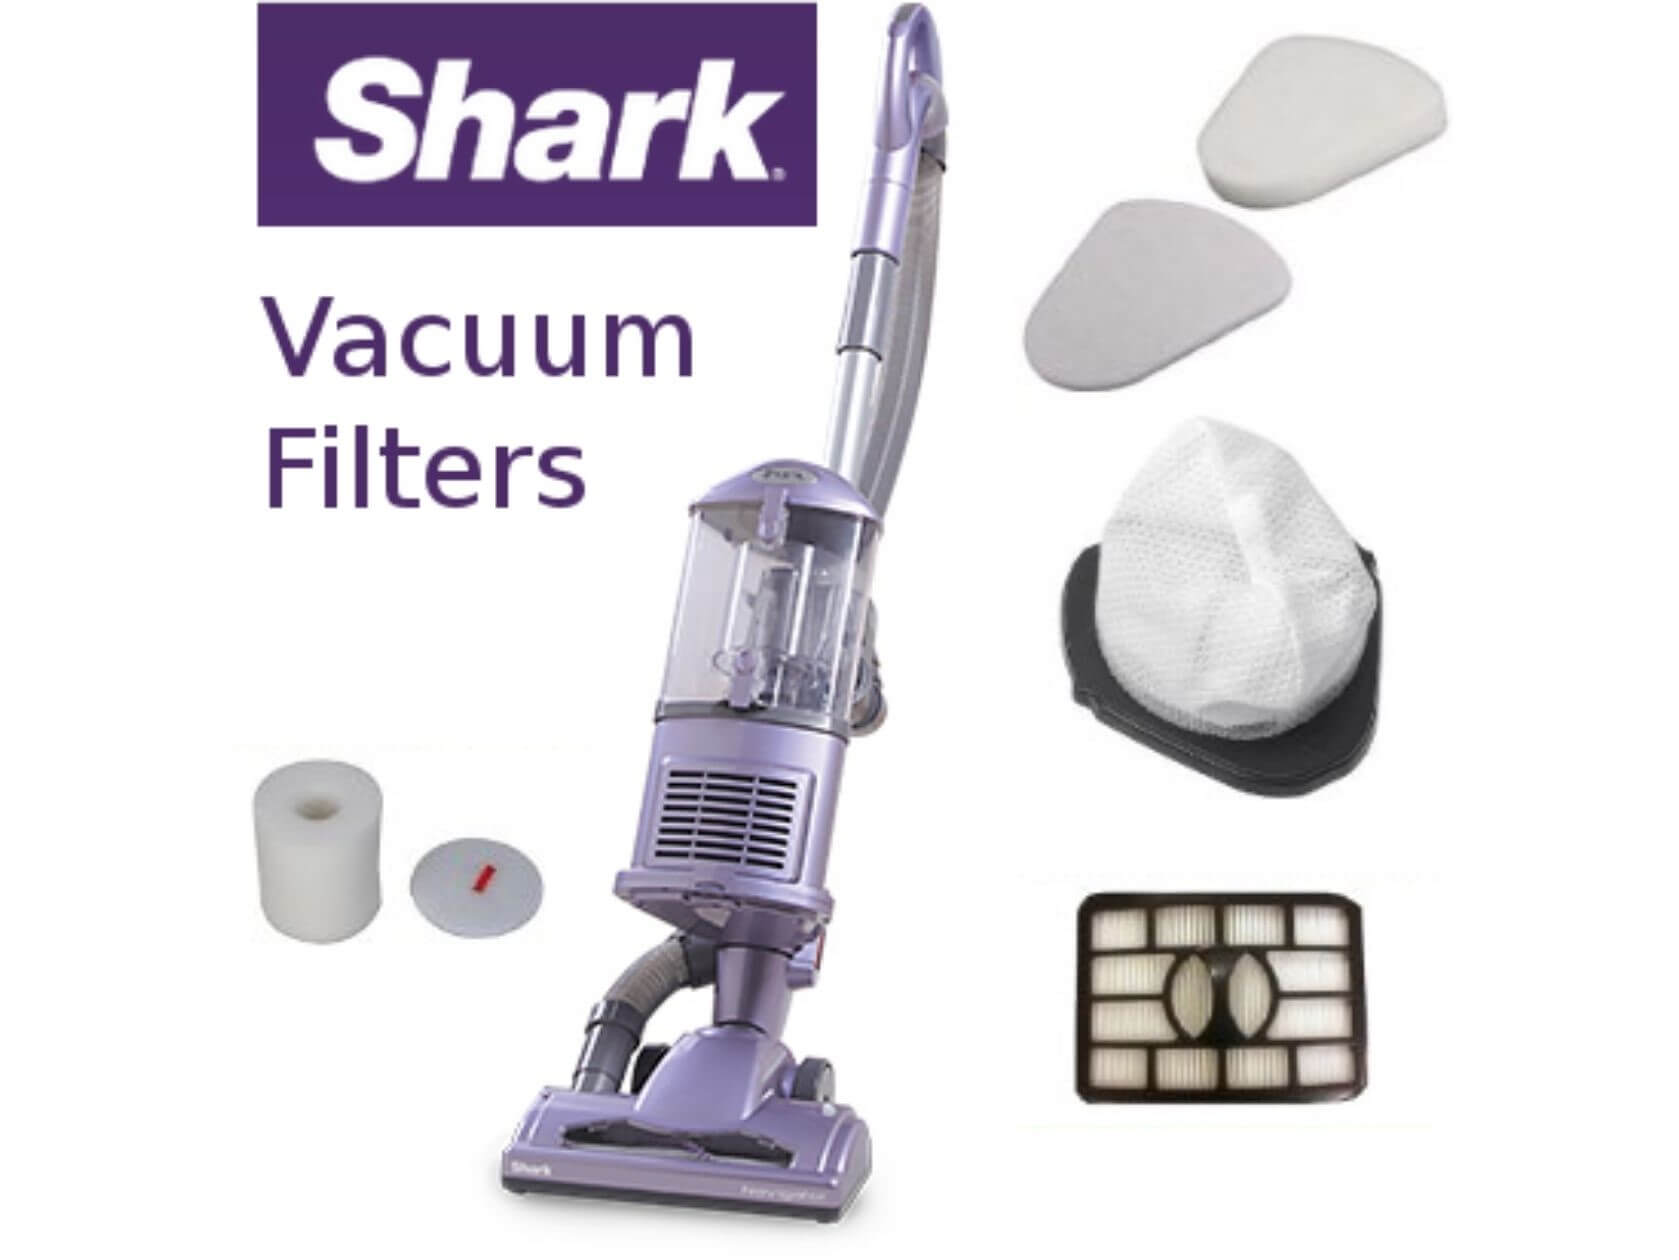
Shark vacuums often come with two filters: the primary filter and the HEPA filter. Depending on your Shark vacuum model, most primary filters are made of foam rubber, while most secondary filters are made of felt. Remove them while remembering the order, so you can place them back properly later.
To clean both the primary filter and the HEPA filter, hand wash with cold water only (the manufacturer does not recommend using soap). After rinsing, let both filters air dry completely for at least 24 hours before reinstalling. Rinse the primary filter once every month, and the HEPA filter once every year.
How to clean the filters on Shark Navigator:
How to clean the filters on Shark APEX UpLight:
It’s important to note, however, once cleaned and rinsed, the filters may not return to their pristine white appearance. This is normal. As long as the filters are not torn, broken or otherwise disintegrated, they will work effectively, even if they remain stained. If they are worn out, however, buy new Shark vacuum filters.
4. Clean the Rotating Brush
Once you have cleaned the filters, you need to clean the rotating brush. If you have not cleaned them for a while, you may find hair, strings, carpet fiber, and debris stuck inside the brush roller. A clogged or dirty brush roller can significantly decrease the suction power of a vacuum, especially a Shark vacuum.
To clean the rotating brush, start by separating the floor attachment from its handle. Use a pair of scissors to snip any dust and hair tangled in the brush. Do so carefully as to not damage the bristles. Gently use a toothbrush to thoroughly remove any dust, and your rotating brush should be good to go.
Should you wish to clean the rotating brush more thoroughly, you can rinse it in cold water while using your hands to wash away the dirt. Before reattaching the brush, let it dry for at least 24 hours. You should aim to clean the rotating brush after several cleaning sessions to maintain the effectiveness of your Shark vacuum.
5. Reassemble the Shark Vacuum
Once you have cleaned the canister, filters, and rotating brush, you can now reassemble the parts back into the unit. Remember to let everything dry before reattaching each part. Wet or damp parts can cause mold and mildew to grow inside the vacuum cleaner, causing respiratory problems and allergic reactions.
After everything is assembled, give your Shark vacuum a quick wipe to ensure the exterior is as clean as the interior. There’s nothing more satisfying than seeing your beloved cleaning tool looking fresh. If you have followed all of the steps above, congratulations, your Shark vacuum should be good as new.
Final Words
And there you have it, the complete tutorial on how to clean a Shark vacuum and its filters. Taking care of your Shark vacuum is an easy task, if you know what you’re doing. We hope that our simple guide can help anyone from beginner to veteran Shark owners take better care of their beloved Shark vacuums.
