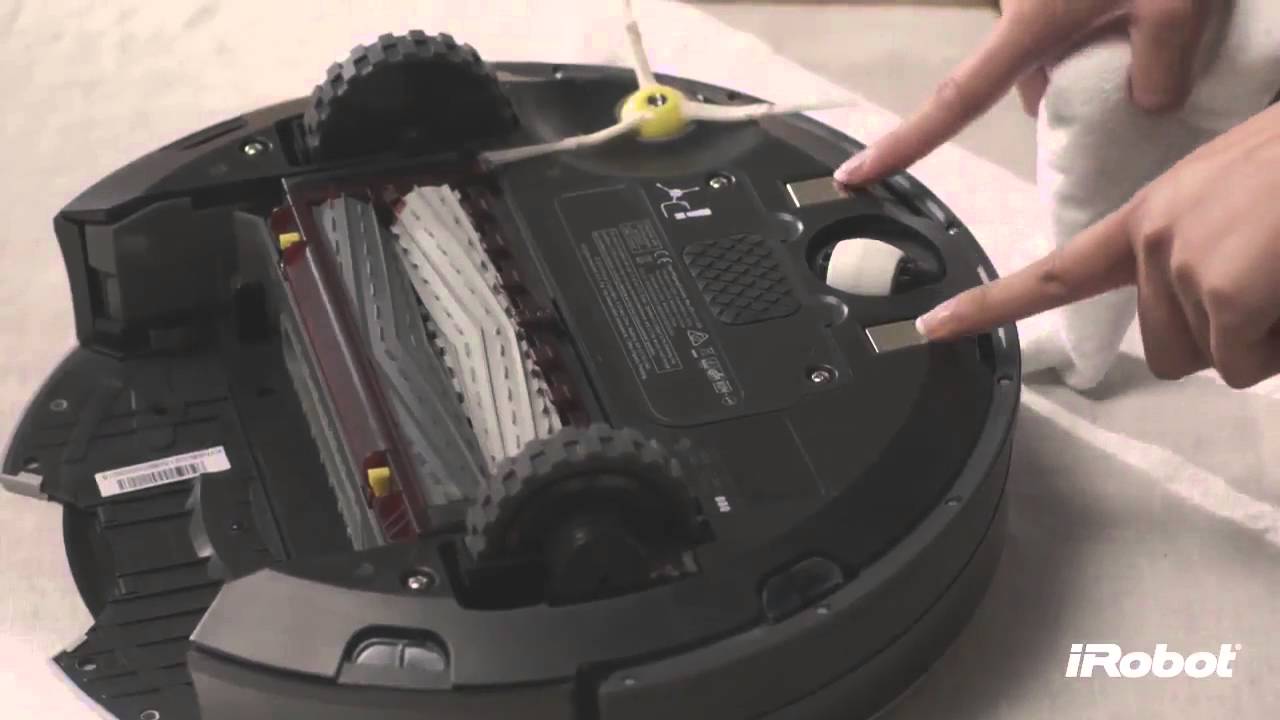
How to Clean Roomba Sensors and Charging Contacts
Cleaners Talk is reader-supported. This post contains affiliate links, we may earn a commission at no additional costs to you. As an Amazon Associate we earn from qualifying purchases.
When it comes to cleaning Roomba sensors, there are a few spots to keep clean. Wipe Roomba sensors with a clean, dry cloth every week, including:
- The forefront cliff sensors
- Two rear cliff sensors
- Two home base charging contact points
- Two robot charging contact points
- Two bin sensors
- Inner and outer bin sensor ports
In order to run like a well-oiled machine, a Roomba needs to have its charging contacts and cliff sensors clean. Clean charging contacts ensure the robot can charge normally while clean cliff sensors prevent it from falling down stairs and navigate properly. Learn more about how to clean each Roomba’s sensors below.
IMPORTANT: If your Roomba is experiencing a charging error, you can troubleshoot it right here,
How to clean Roomba charging contacts
Over time, debris can build up on the charging contacts of the robot and home base charging station. This can prevent your Roomba from charging properly.
You would think that regularly pulling hair and debris off its brushes and wheels is enough to keep your Roomba well taken care of. Unfortunately, dust and gunk can build up in places that are not visible.
Consider the metal charging contacts on the Roomba and its base station. When was the last time you gave them a close look—or looked at them at all, for that matter?
A brand new Roomba should have completely silver charging contacts. However, over time, the charging contacts will become dirty with dust all over it. Worse, they can become discolored when they are super dirty.
Here’s how to clean the charging contacts:
To clean the charging contacts, turn the Roomba upside down. Wipe both charging contacts with a clean, dry cloth. Place the home base on a flat surface. Wipe each contact of the home base as well.
If the charging contacts on the robot and the home base are very dirty, one easy way to remove the dust is to use sterile alcohol prep pads. They are ideal for cleaning the charging contacts because they leave nearly zero oil traces, completely non-toxic, and evaporate quickly.
- PACKAGE CONTENT - 400 medium 2-ply prep pads
- INDIVIDUALLY WRAPPED - Each pad is individually wrapped and sealed to keep it protected and moist.
- FOUR-LAYER WRAP - The 4-layer wrap provides an air tight seal that prevents leakage and drying out.
How to clean Roomba cliff sensors
For optimal performance, Roomba’s cliff sensors must be regularly cleaned by wiping them down with a clean, dry cloth.
Dirty cliff sensors are the main reason why your Roomba is moving erratically, sometimes even moving in circles. This is because the cliff sensors send and receive infrared beams to detect stairs and cliffs.
Most people never even bothered to take a closer look at their Roomba’s cliff sensors, only to find them completely covered in dust. However, the cliff sensors are some of the most important parts to take care of.
Here’s how to clean Roomba cliff sensors:
To clean the cliff sensors, turn your Roomba upside down and wipe each cliff sensor with a clean, dry cloth. If the cliff sensors are particularly dirty, wipe them with a clean melamine foam, such as a Magic Eraser.
Contrary to popular belief, cleaning the cliff sensors is very easy. All you have to do is to wipe the dust off the clear plastic windows that guard the IR lenses.
As long as they are not coated with dust, the cliff sensors should work perfectly fine.
Although your robot series may vary, the care procedure for cliff sensors will remain the same for all Roomba series. See the pictures below to locate all of the cliff sensors based on your Roomba model:
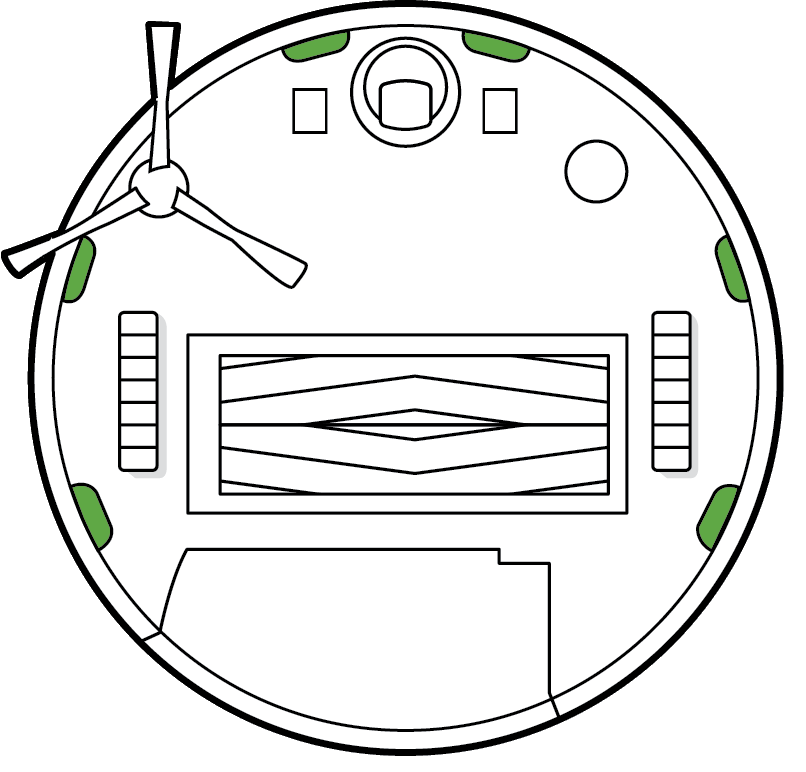
Roomba i Series cliff sensors location.
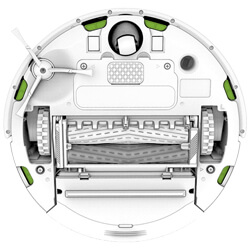
Roomba 900 Series cliff sensors location.
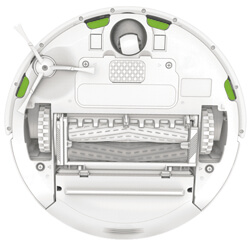
Roomba 890 Series cliff sensors location.
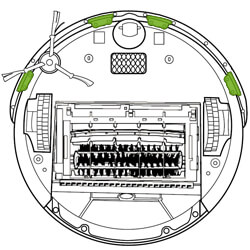
Roomba 500 Series cliff sensors location.
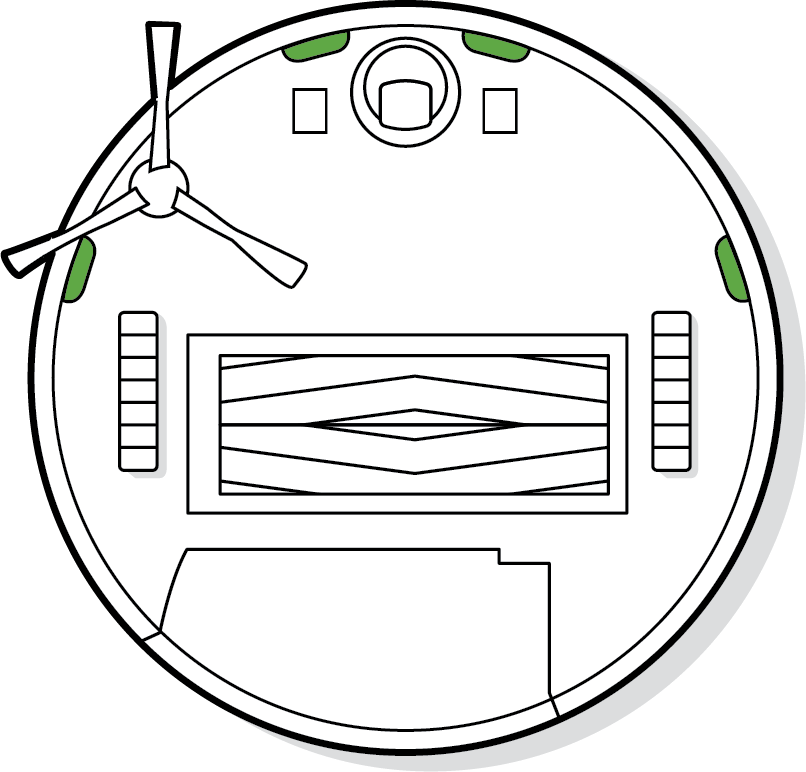
Roomba e Series cliff sensors location.
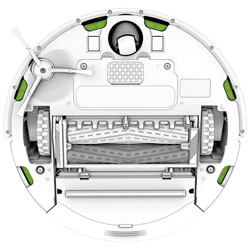
Roomba 800 Series cliff sensors location.
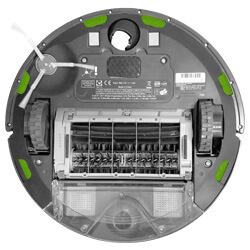
Roomba 700 Series cliff sensors location.
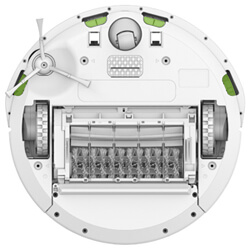
Roomba 600 Series cliff sensors location.
FAQ on Cleaning Roomba Sensors
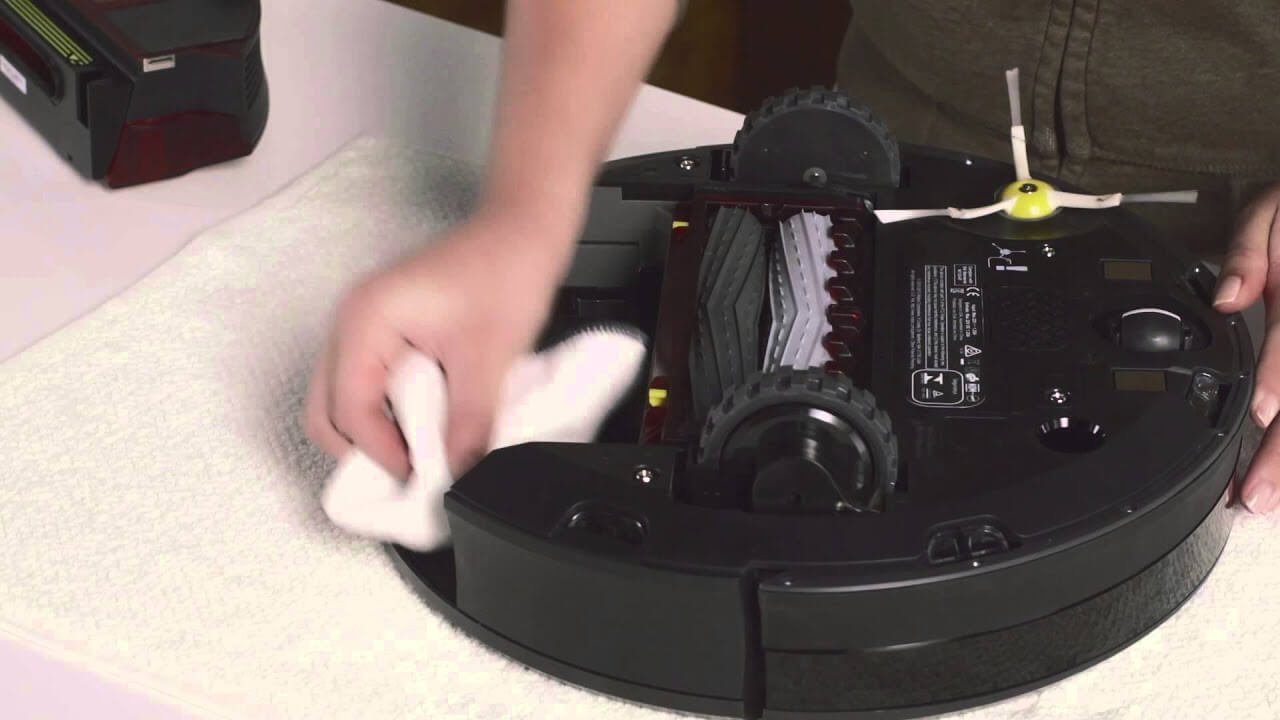
1. How do you clean a robotic sensor?
The standard sensors are located on the robot vacuum's bottom and bumper.
To clean the sensors, wipe them with a clean, dry cloth or a dry cotton swab. Never use a damp cloth or cleaning fluids because they could damage the sensors.
2. How often should I clean Roomba sensors?
Once per month.
According to iRobot, you should clean the Roomba sensors, including the charging contacts and cliff sensors, once per month by using a clean, dry cloth or a lightly damped melamine foam, such as a Magic Eraser.
3. Where are the sensors on a Roomba?
The infrared beam and photocell sensor are located on top of the Roomba. Underneath, there is a plastic front bumper with a built-in touch sensor. On the underside of the Roomba, lies two charging contacts.
The infrared sensor is located at the very front of a Roomba. It allows the robot to bounce light off an object to detect its presence, even if it's cleaning after dark and there's limited natural light.
4. Can you disable Roomba cliff sensors?
You can disable Roomba cliff sensors.
To manually disable Roomba cliff sensors, cover them with tape. This “tricks” the Roomba as if a wall or a cliff is approaching, causing the Roomba to stop moving or back away.
Final Words
Now you know how to clean Roomba sensors. By doing a few quick routine steps will help keep your robot in tip top shape, like cleaning the charging contacts and cliff sensors once per week.
It’s also a good habit to make sure each Roomba component can move freely by frequently checking the extractors, side brush, and front caster wheel, and removing any hair or debris. Roomba will let you know if something is wrong and give you troubleshooting tips to help get it going again.
Other helpful Roomba articles:

